
Make homemade jam and marmalade from berries and fruits
Grow your own
Autumn
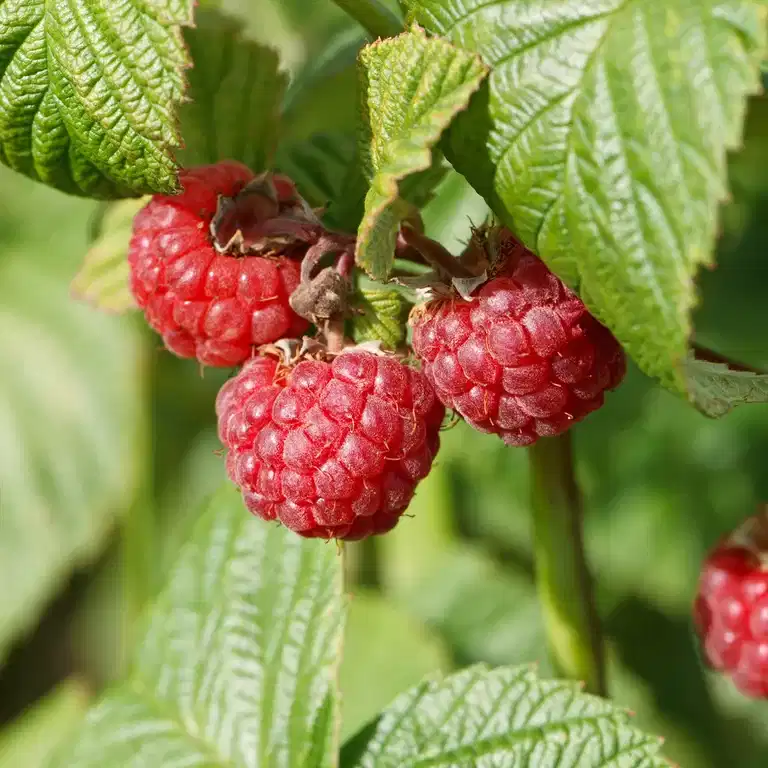
Making jam and marmalade from berries and fruits from the garden is a tradition for many, but also surprisingly easy if you have never tried before. Here we go through the process step by step.


Topics:
Grow your own
Autumn