5 tips for successful pre-cultivation
Once the sun has turned and the days grow longer, it is time for pre-cultivation. Many start as early as January. Here are gardener and garden influencer Malou Augustin's five best tips for successful pre-cultivation.

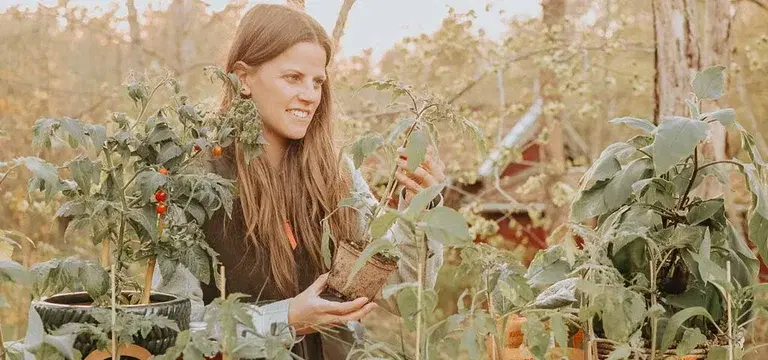
Photo: Malou Augustin – @evergreengarden.se
If you’re like me, you’re already envisioning lush plants and bountiful harvests the moment you buy your seeds. The dream of a thriving garden makes your fingers itch to start as soon as the light returns. You don't need a lot of space to enjoy growing your own food, either. You can easily get by growing a little on a windowsill, a balcony, in an allotment, or in your own backyard. With my tips, you'll have everything you need to succeed.

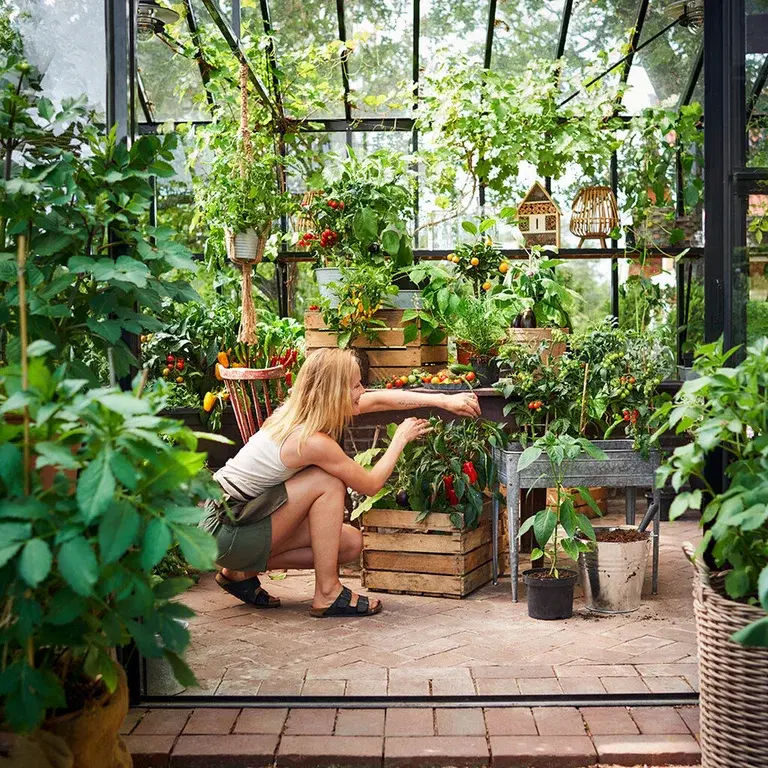
Photo: Malou Augustin – @evergreengarden.se
1. Choose soil that helps small, new plants thrive
Let’s start with the absolute most important thing: the soil!
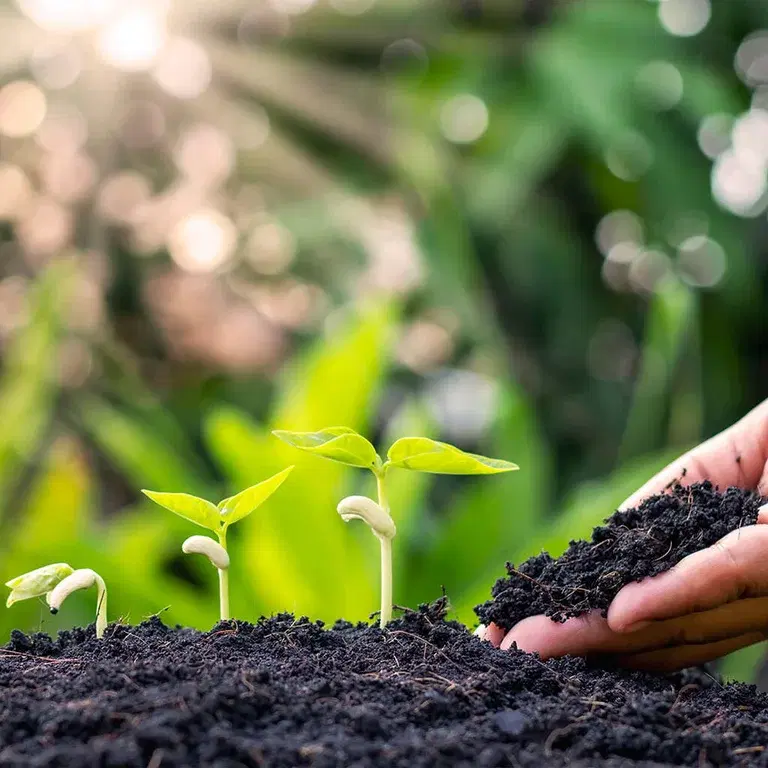
Sowing soil is nutrient-poor, fine-textured, and well-drained. Because it is airy and consists of small particles, it is perfect for the roots of small plants. With the right soil, it becomes easier for the plants to reach deep, spread out, and simply establish themselves. Since the soil is low in nutrients, you don't have to worry about the seeds' roots becoming stressed or burned—which can cause the young plant to wither and die.
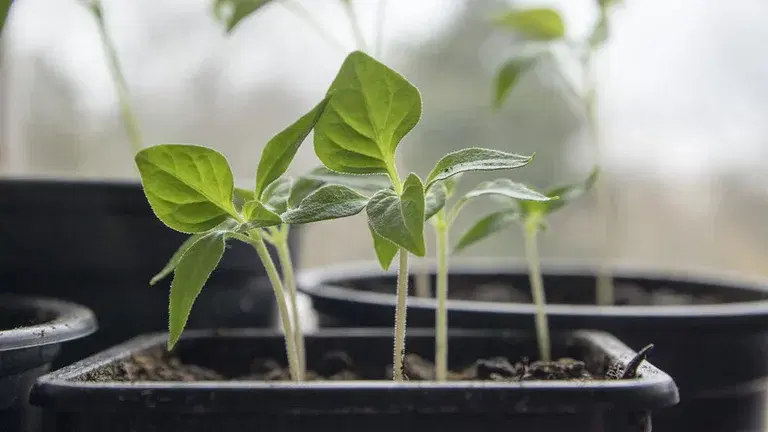
Sowing soil is therefore a safe choice for most seeds. However, remember to transition the plants to handle more nutrients as soon as they emerge from the soil. Once the plants have developed their first true leaves—the leaves that appear after the very first seed leaves (cotyledons)—it is time for a more nutrient-rich potting soil and a larger pot.
But not all seeds actually require sowing soil. Plants that can be sown directly outdoors, such as cabbage, tomatoes, and artichokes, can do perfectly fine in potting soil right away—even though this soil contains fertilizer and has a coarser structure.
If you are unsure what suits the seeds you have chosen, you can also opt for a middle ground: Use potting soil at the bottom of the pots and top it off with seed starting mix. I usually fill them with potting soil and finish with about 2–3 cm of sowing soil.

Photo: Malou Augustin – @evergreengarden.se
2. Remember that water and nutrients go hand in hand
When it comes to pre-cultivation, it is important to keep the seeds moist, but absolutely not soaking wet. If there is too much water, you risk the seeds rotting before they have a chance to sprout, especially if the environment is a bit chilly.
I always recommend watering from below. Place the pots on a tray and pour water into the tray instead of into the pots. Water thoroughly and let the soil absorb what it needs before pouring out any excess. The soil in the pot will soak up the water so that the moisture reaches all the way to the seeds. This also allows the seeds to remain undisturbed, without being washed around by a stream of water that could damage the new, delicate roots.
There are nutrients in potting soil, but to get large and healthy plants, extra nourishment is needed as they grow. I have a little trick I like to use: adding a few granules of Plantasjen’s vegetable fertilizer to the bottom of the pot when sowing. The fertilizer is organic and naturally long-acting, as the nutrients are released gradually as it breaks down in the soil. It acts as an extra reserve for the plants.
For a quick nutrient boost, I supplement with Plantasjen’s liquid fertilizer. This nourishment is fast-acting, as the water transports it directly to the plants' roots. Plantasjen’s liquid fertilizer is made from green organic waste and fermented locally. It contains live photosynthetic bacteria that fix CO2 and nitrogen while stimulating plant growth.

Photo: Malou Augustin – @evergreengarden.se
3. Strengthen your plants with grow lights
It’s easy to think that the light from the window is sufficient for the plants, but to become robust and strong, plants often need more light than we realize. Without enough light, plants quickly become leggy and spindly because they stretch and struggle to reach whatever little light they can find. Additionally, photosynthesis struggles to get going properly, and the plants' development is hindered—especially for plants that need some time indoors before they can be planted out.
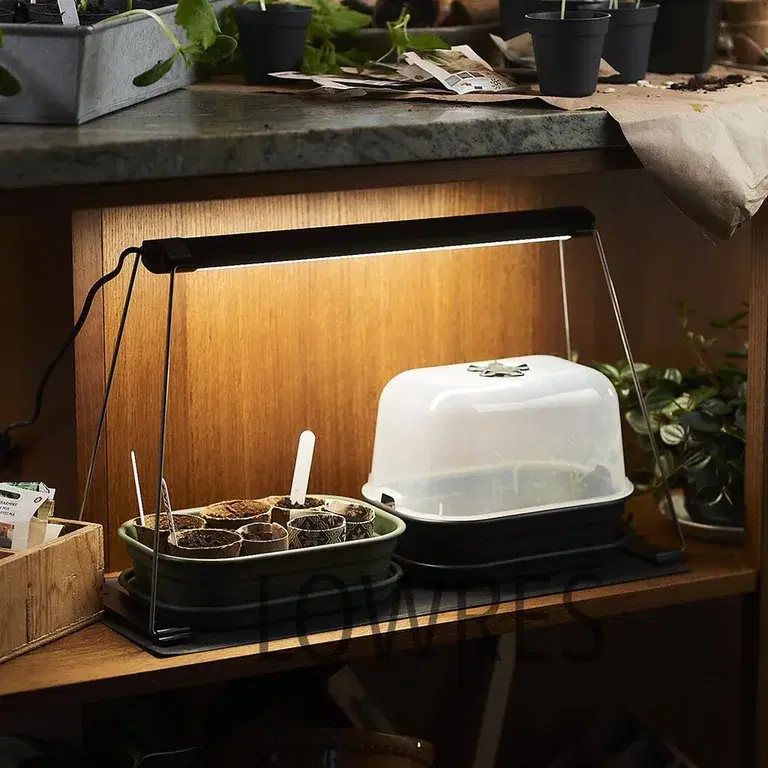
To ensure that the plants develop as well as possible, you should use grow lights for 12–16 hours per day. The Crescendo lamp from Plantasjen is perfect for this! It is versatile with its stand and also features a built-in 16-hour timer to ensure the optimal amount of light. I particularly like that it fits well in smaller spaces, such as on a windowsill or the laundry room counter.
4. Don’t let the seeds dry out
The seeds must absolutely not be allowed to dry out! This is especially important for seeds that are planted shallowly or right on the soil surface.
If a seed has been awakened to life by the moisture in the soil but then dries out, the seed will die. That is why I always use a mini greenhouse for pre-cultivation. This gives me a tray to water in, while the pots and the greenhouse lid keep the moisture in and let the light through. It is perfect for the seeds, as they get consistent moisture and avoid drying out. I use the mini greenhouse from Plantasjen together with these seed trays. I can use them again year after year, and they also help keep the soil consistently moist.

Photo: Malou Augustin – @evergreengarden.se
5. Use bottom heat to improve germination and stimulate the roots
The heat mat is one of my absolute best gardening tools! Sometimes I wonder what I ever did before I got a heat mat. Bottom heat stimulates seeds to grow better and helps cuttings strike roots faster. I save so much time by using a heat mat. And you can forget about the risk of seeds like chili or corn rotting because it's too cool for them.
Once the seeds have germinated and popped up, I simply turn the heat mat off. This gives them a cooler temperature to grow in, which is exactly how most plants prefer it.
Psst, an extra tip for those of you struggling with fungus gnats!
Fungus gnats can ruin both your seedlings and the joy of gardening. Believe me, I have been so incredibly sad when plants suddenly wither right before my eyes. Usually, it's the fungus gnat larvae that have been eating the plant's roots. It isn't easy to get rid of fungus gnats, but I have a method I've used for several years: Nemablom.
Nemablom contains natural nematodes that kill the fungus gnats and their larvae. Furthermore, the treatment is super simple. You just mix it into your watering can and water the plants as usual. After a little over a week, the larvae and the fungus gnats are dead.
With these tips, Plantasjen and I wish you a successful growing year!
TEXT AND IMAGES:
- Malou Augustin, gardener, garden designer, and garden influencer who lectures and offers online courses on garden design and cultivation
@evergreengarden.se
Also read:
You are here:


